Mother’s Day Craft for preschoolers

SAMSUNG CAMERA PICTURES

One of the things that gets me very excited each year is making Mother’s Day crafts with the little ones at church.

I was doing a search online and found a couple of cute pictures of a simple craft to make, but unfortunately they had no instructions attached to them. For me it’s very easy to figure out how to get to the finished product based on a picture alone, but I know that’s not the same case for everyone.

I decided to make my own easy craft and post the instructions on how to make it here.

SAMSUNG CAMERA PICTURES

Here’s what you’ll need:

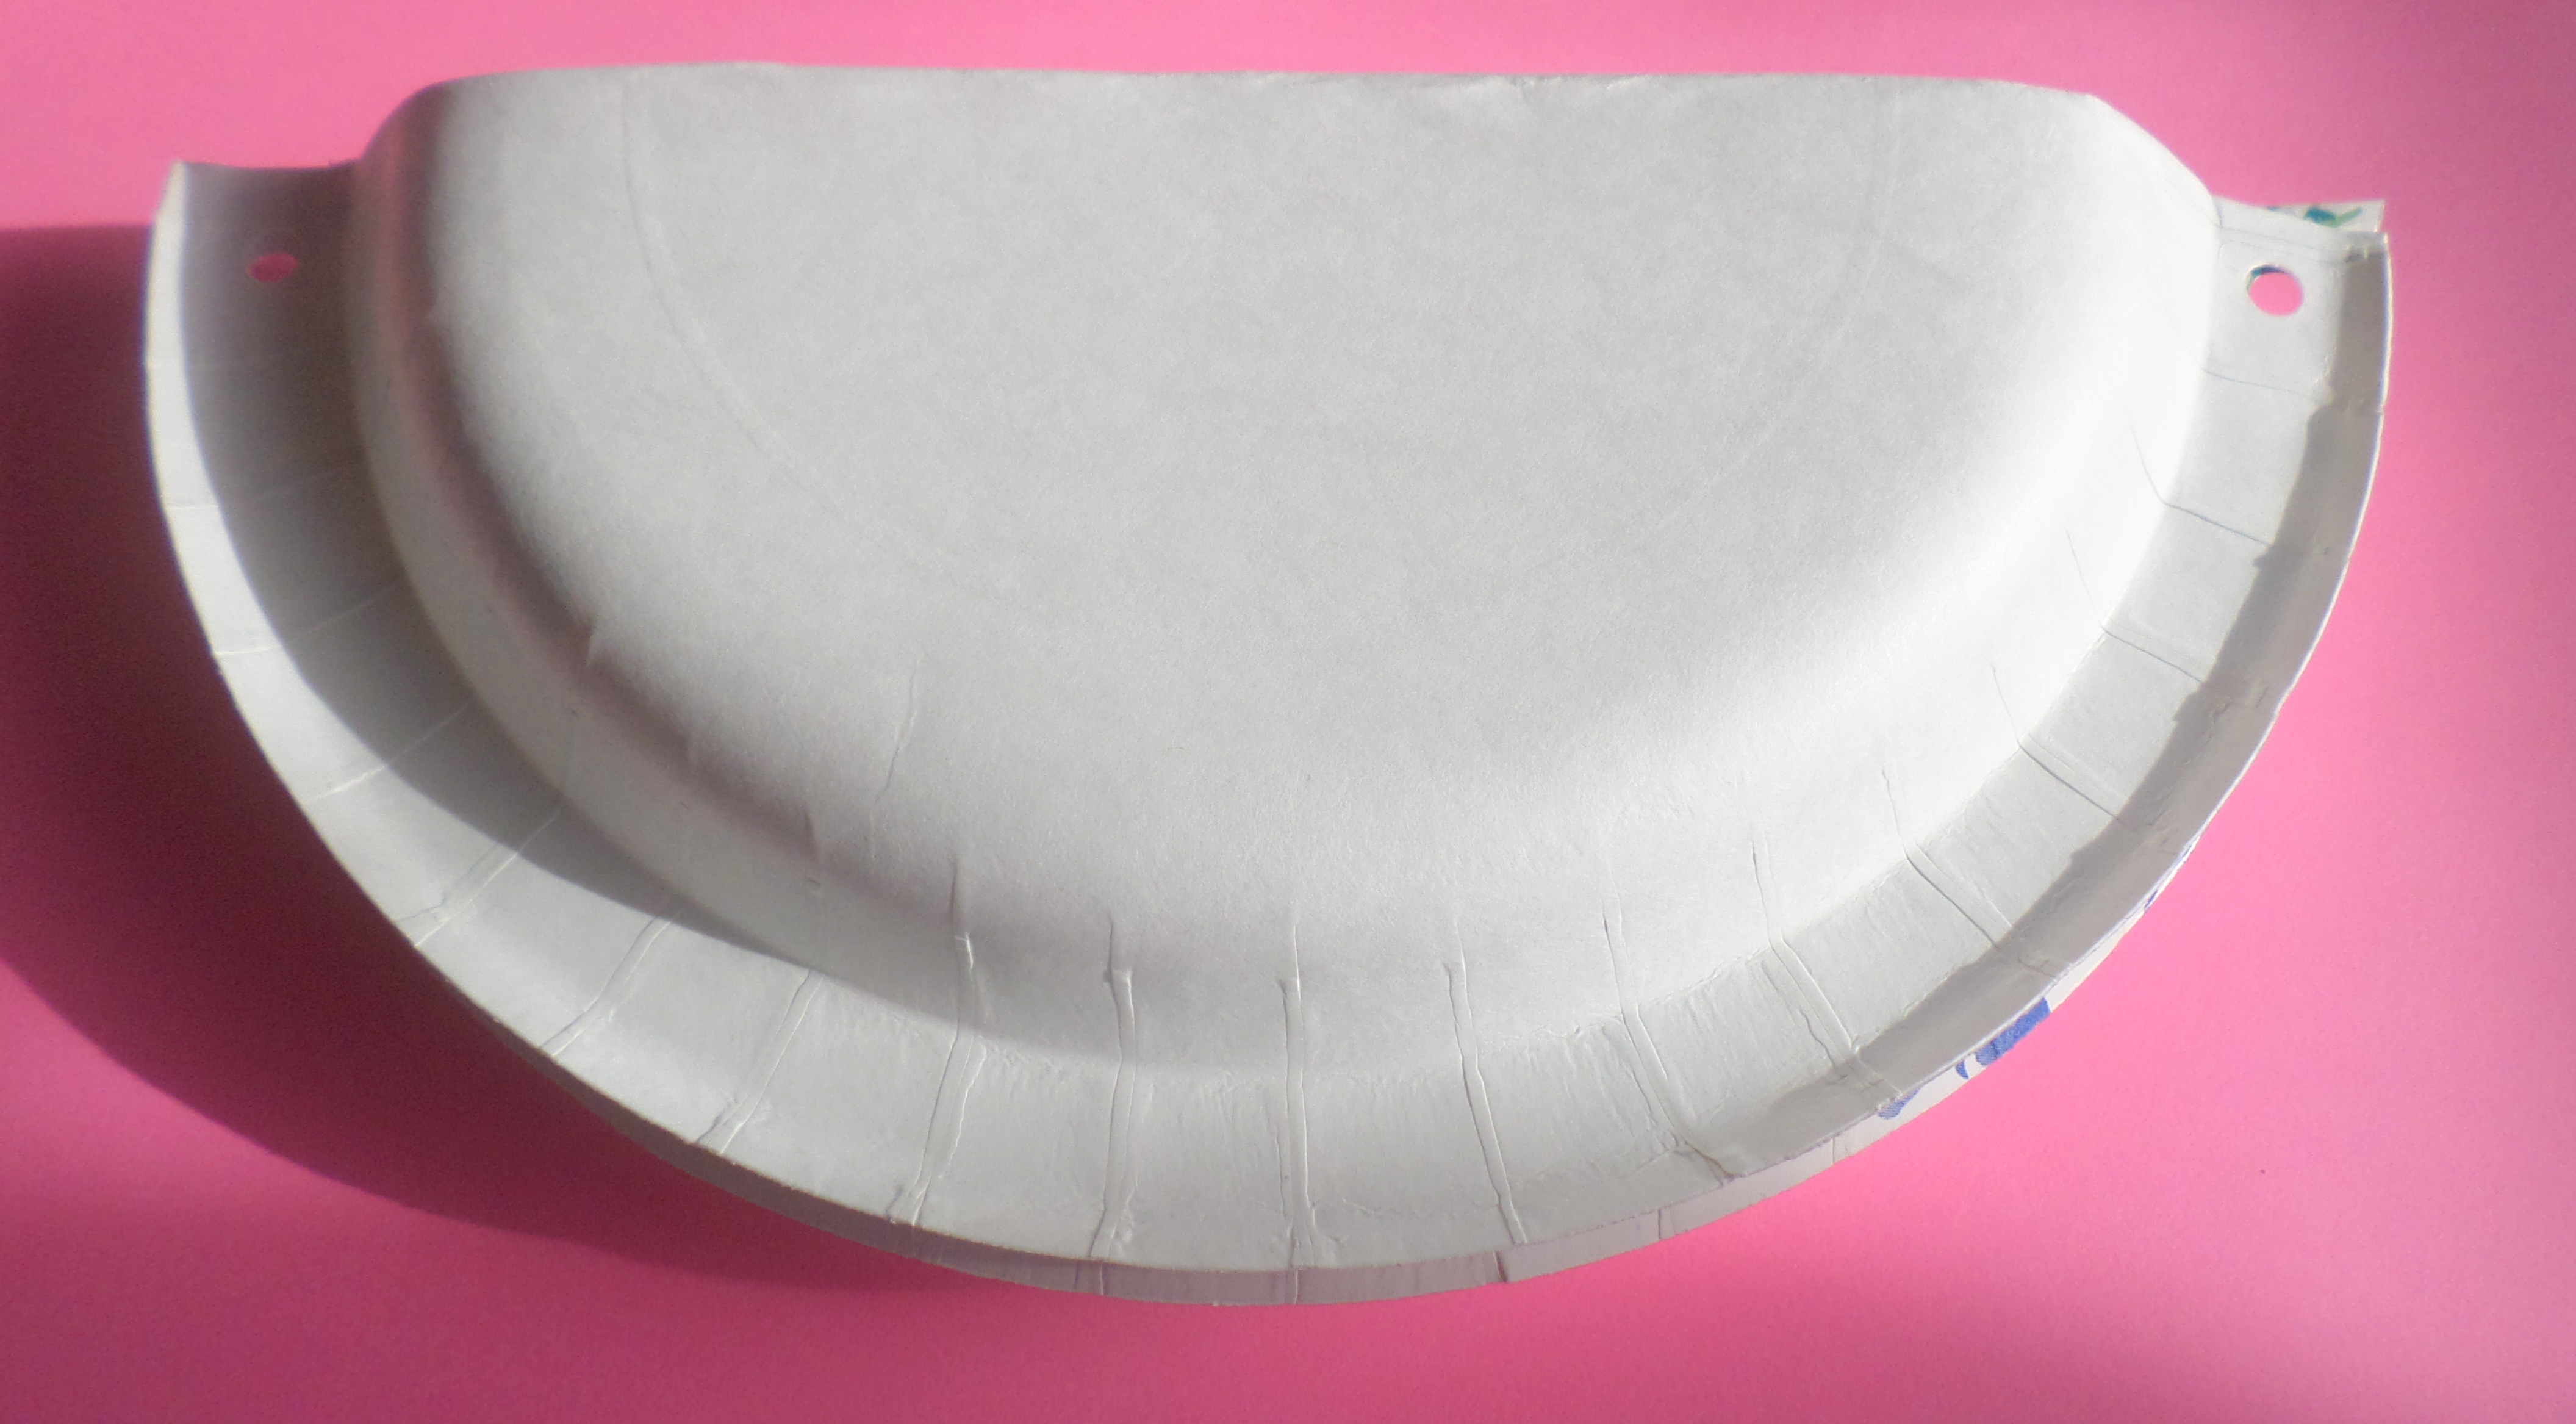
  1. A paper plate cut in half. If you want to create an extra fancy craft, you can trace and cut a circle out of a craft foam sheet and then cut it in half.
  2. Crayons or markers. I prefer crayons since it’s easier to clean up.
  3. Foam flower stickers or any decorative stickers.
  4. Glue
  5. Hole puncher.
  6. Yarn, thread or ribbon.
  7. Happy Mother’s Day banner printed on nice cardstock.
  8. Tissue paper in different colors.
  9. Clear tape.

Here’s what you’ll help the little one do:

  1. First, take the two halves and have them face each other forming a pocket. Align the edges and using the hole puncher, punch one hole on each side.                                                                                                        SAMSUNG CAMERA PICTURES
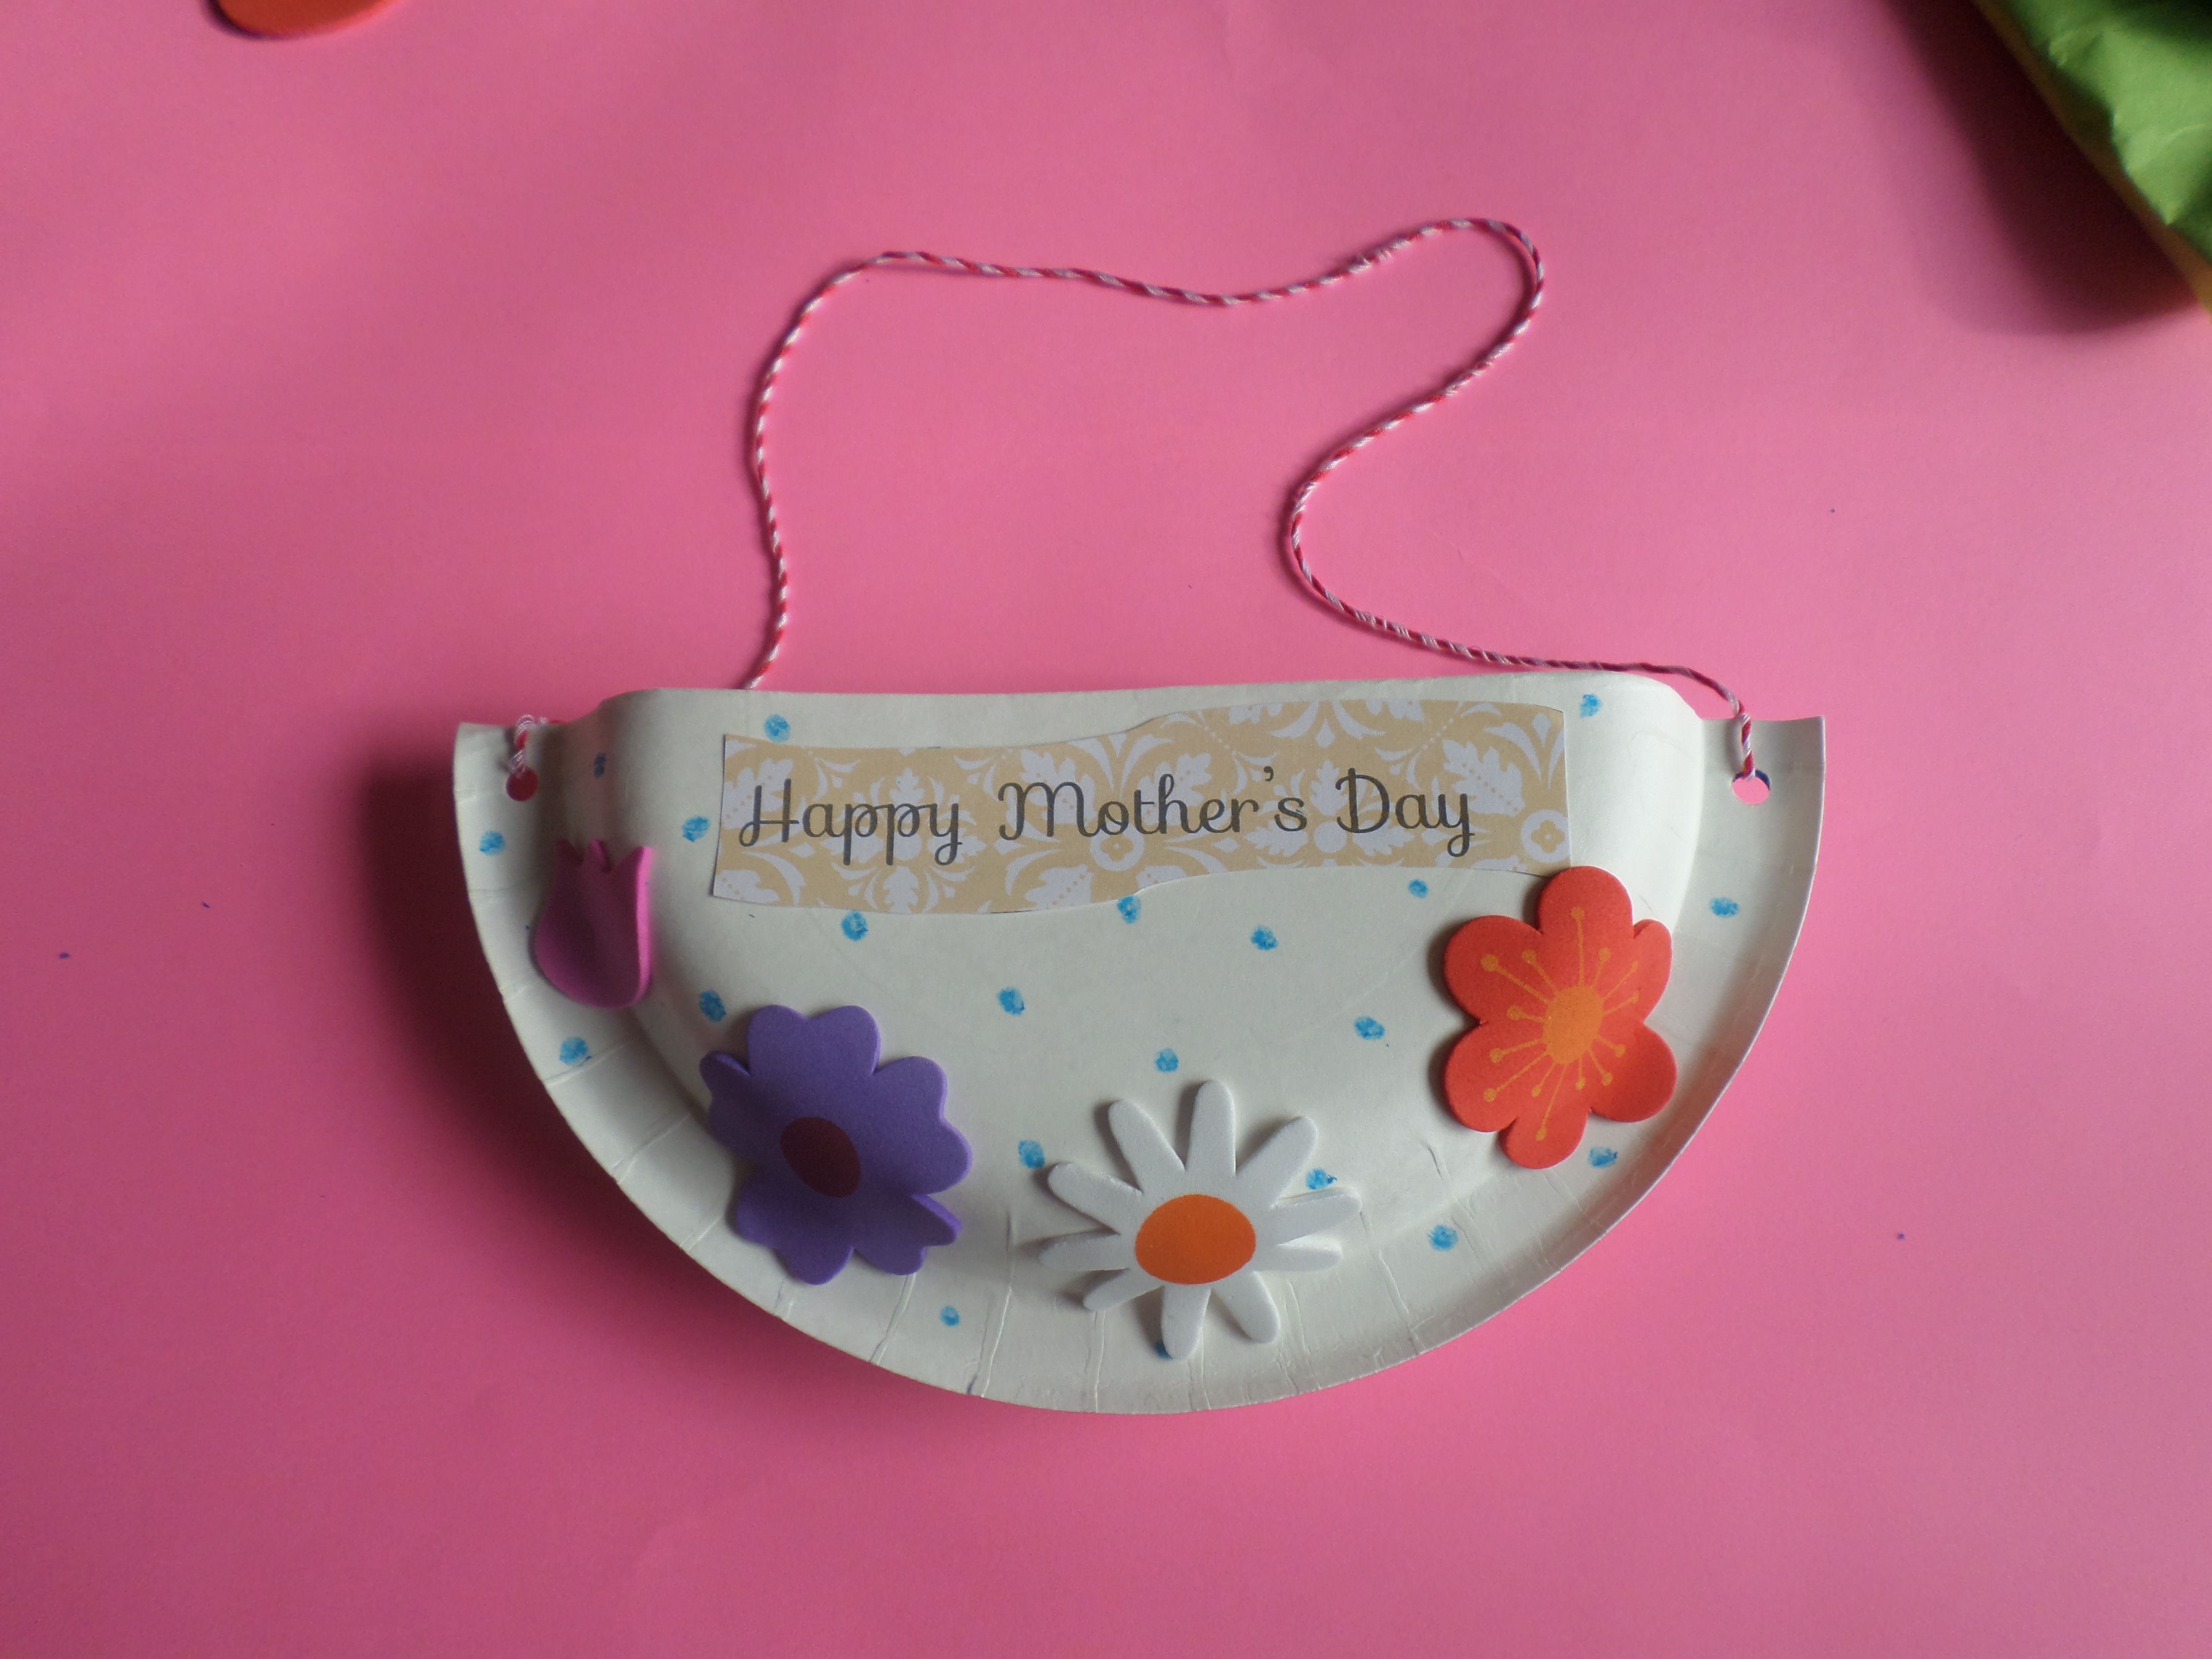
  2. Cut out the Happy Mother’s Day Banner and give one to the little one. They can color it or if printed in a nice paper, They can glue it directly to the front side.
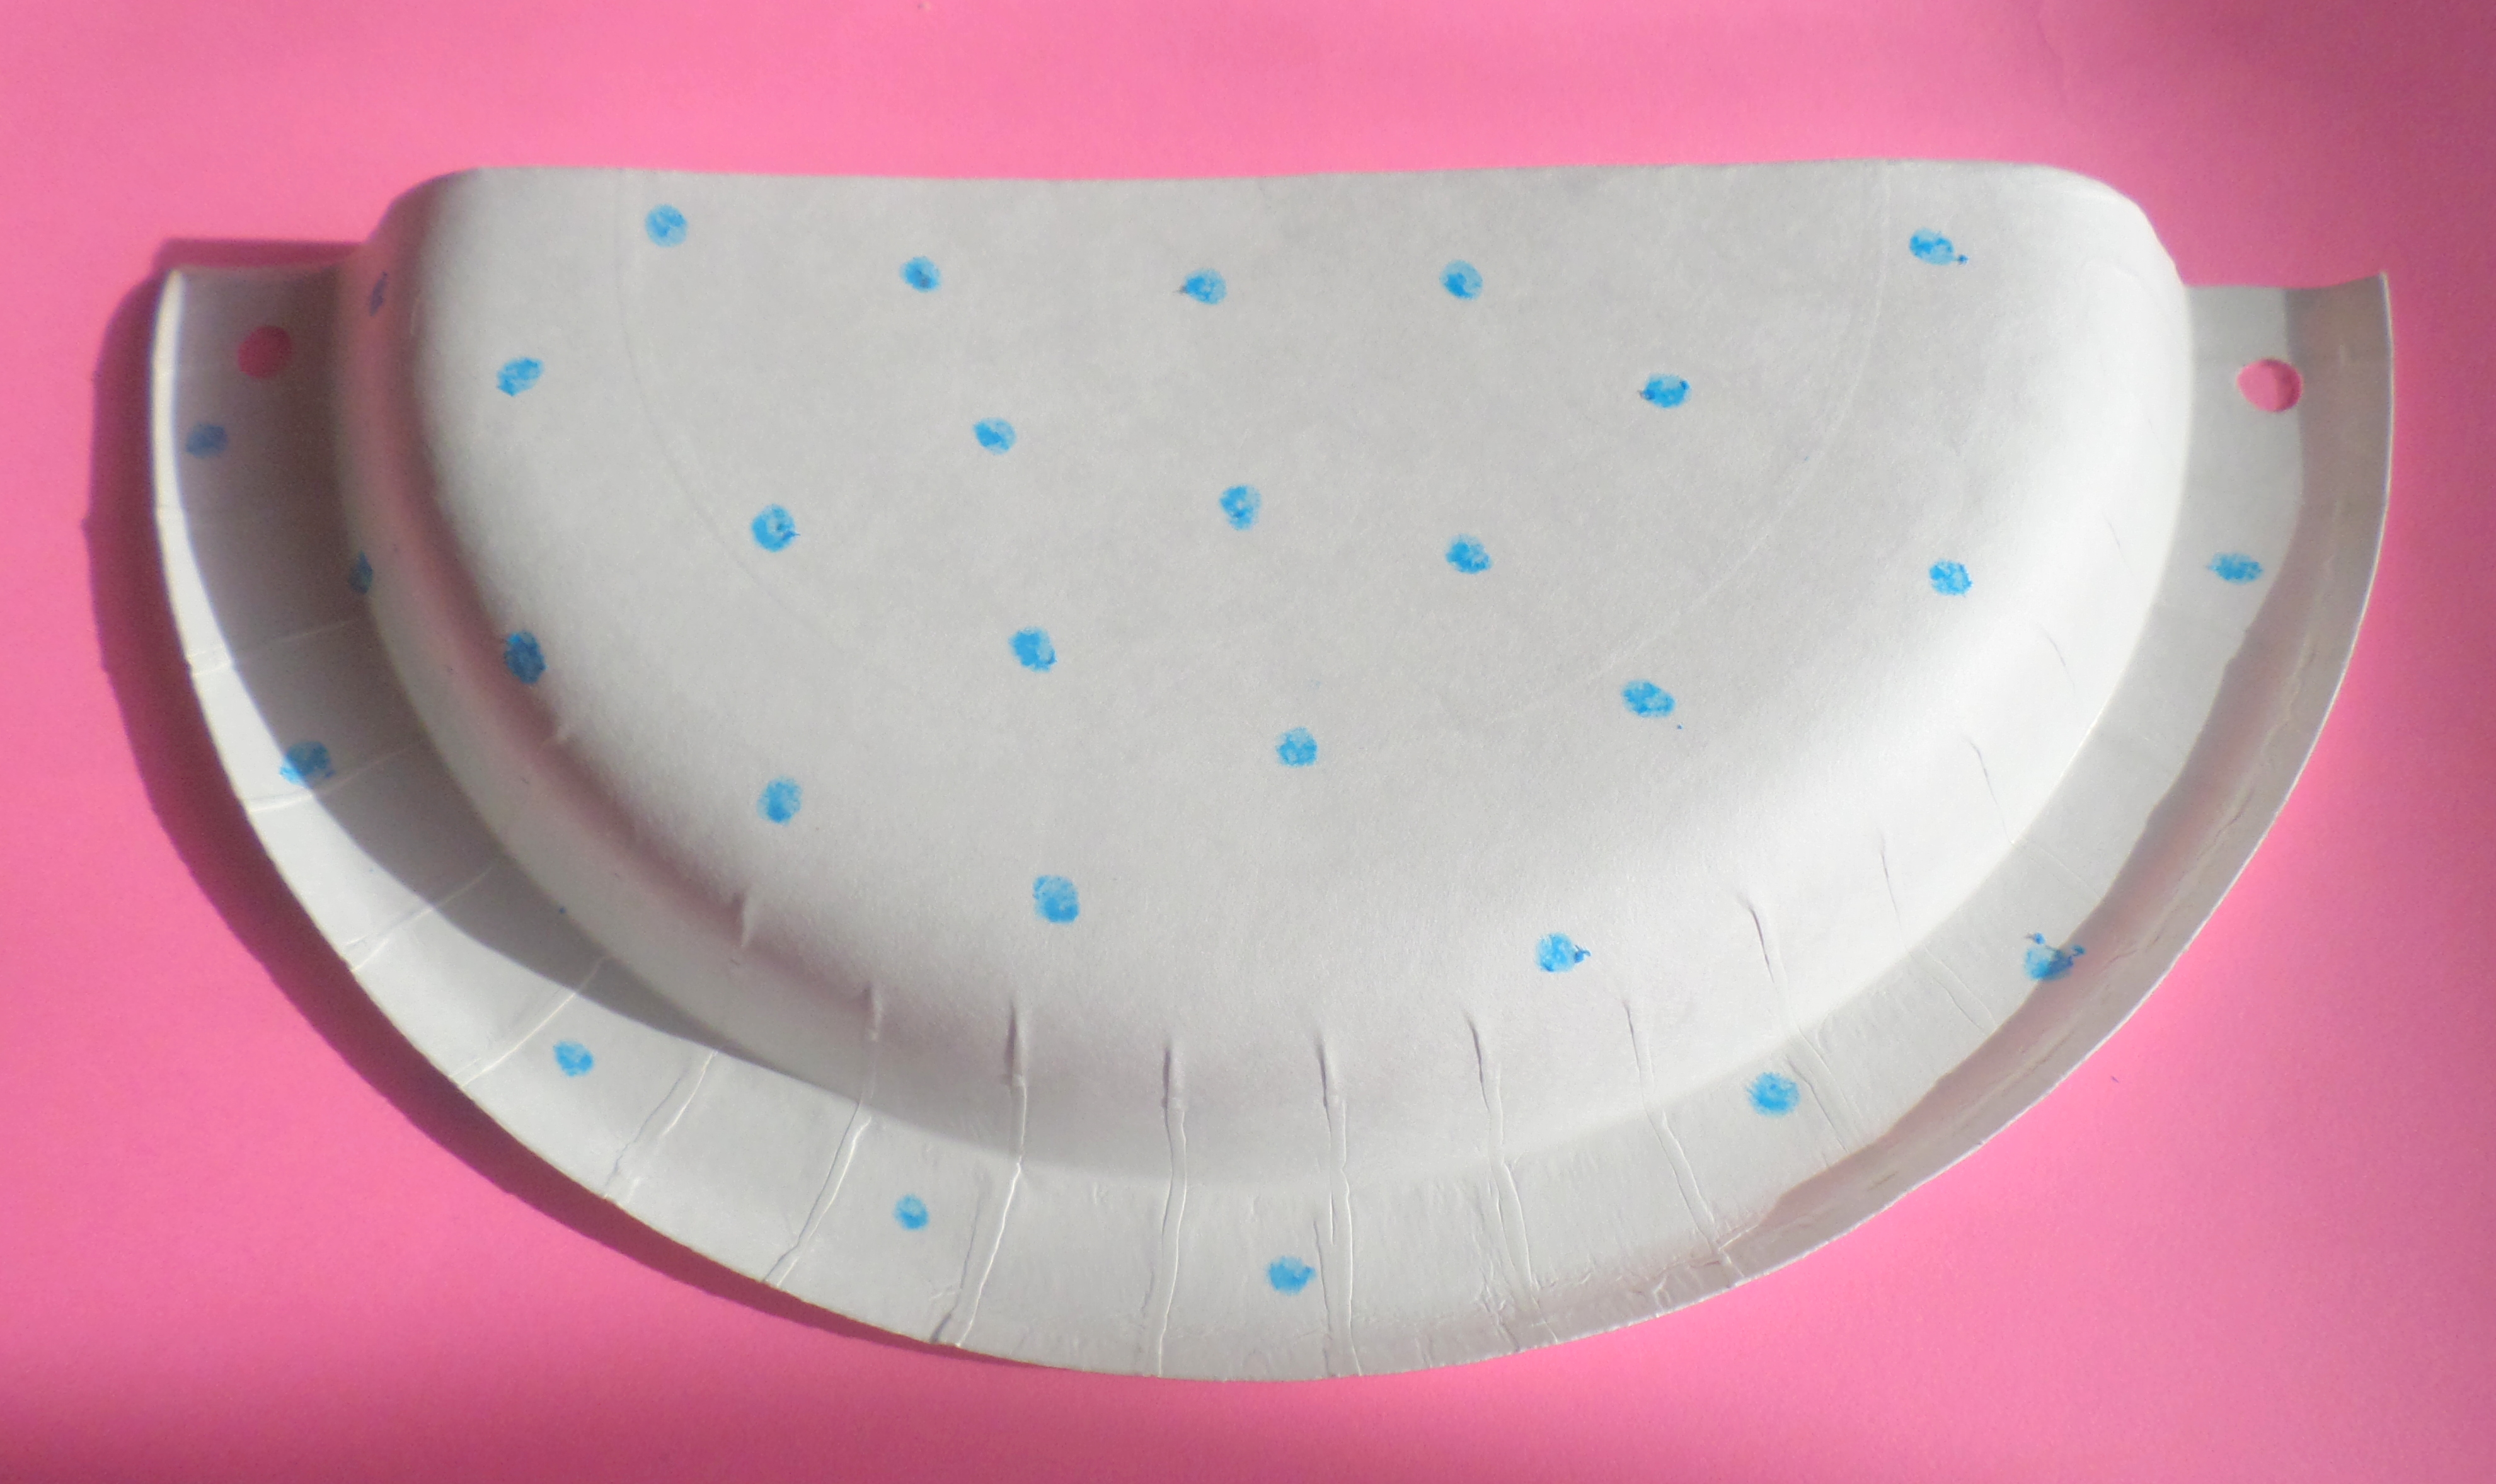
  3. If using paper plates, give them to the child with crayons and let them color to their hearts content. This is where their creativity can flourish. Once done, give them the stickers to decorate the edge of the front side of the pocket.                                        SAMSUNG CAMERA PICTURES
  4. Help them glue the phrase to the center of the plate. Attach both halves together by applying glue to the rim of a paper plate and placing another on top.  Help them thread the yarn, ribbon or material used through the holes previously punched and secure with a knot on each end.                                                                                                                                                                                                         SAMSUNG CAMERA PICTURES
  5. Cut the tissue paper in squares and instruct the children how to crunch up the tissue paper to make it look like flowers.
  6. Have them place the flowers inside of the pocket, they can be left as is, but if you want them extra secure, a little piece of tape can be added inside the pocket.


Hot Air Balloon Mobile

I have a wonderful friend who is expecting and while visiting her she showed me these beautiful glass balloons she had purchased for her baby’s room. It gave me a wonderful idea, to make her a handmade gift that would incorporate her balloon theme. I had seen some balloon mobiles on Etsy and Pinterest and thought to myself that  I could make one.
 
Here’s what you’ll need to make one:
  1. Felt in different colors (I ended up using about 1/4-1/2 yard of each color)
  2. Embroidery thread ( I used white and brown)
  3. Embroidery ring
  4. A book ring
  5. Glue gun and glue sticks
  6. Balloon pattern
  7. Pen
  8. Scissors
  9. Cotton filler
  10. Embroidery needle
  11. White acrylic glue
  12. Paintbrush
The first step in making the mobile was to find a balloon pattern online, I just performed a Google Search and printed the balloon I liked the most. Once that was done, I cut out the pattern and traced it on the felt. Each balloon had 4 sides, I needed a total of 24 balloon cutouts, but you can modify to who many balloons you’ll need.
 
Once the patterns were traced and cut, my next step was to work on the balloon baskets. For the baskets, I ended up cutting strips of brown felt and creating a weaved pattern of 4 strips height-wise and 12 small strips lengthwise. Each strip was about 1/2 inch. Once I had the weave completed, I glued everything down. I was able to fold the weave in half, (height-wise) and end with a 2 x 12 strip. I then started cutting my assembly down to 2 x 2 pieces and gluing approximately 3 inches of brown embroidery thread on each side. Below is a picture of the finished product.
 
 
For the balloons themselves I started by gluing two sides together as shown below.
 
That was followed by adding glue to the second side of the balloon and placing one of the strings of the embroidery thread on the glue (picture below).
 
I repeated both of the previous gluing steps and this is the finished product.
 
 
All the clouds I cut freehand, I made sure to fold my felt in half so each time I made a cloud I ended with two identical copies. If cutting the clouds freehand seems a little too daunting of a task, you can always search online for a cloud pattern or template and use that as a guide.


Instead of gluing the clouds together as I did for the balloons, I used the embroidery thread and needle to stitch them together. Before going all the way around on the stitching, I used cotton filler to fill the clouds and give them a 3D effect.


The embroidery ring was a plain wood once, I ended buying an 8 inch but looking back I could have used a smaller one. Since I didn’t want the wood to show I painted the ring white using some acrylic paint and a paintbrush.


Once the ring was dried assembly time came. I used the glue to place clouds all around the outside loop of the embroidery ring, making it seem like the balloons were reaching the sky.
 
Using my white embroidery thread and needle, I “sowed” a knot on the top of each balloon and added different lengths of thread in order to create my balloon heights. I also added some thread to plain clouds to help me fill any gaps between balloons.
 
 
To complete the assembly, I tied 5 long strings of embroidery thread to the inner loop of the embroidery ring. 
 
 
I had all the strings tied to a book ring that can be used to mount the finished product.
 
 
I also tied the balloons and clouds that were connected to embroidery thread to that inner ring before placing the outer ring and tightening. That way no thread knots can be seen from the outside and it keeps the mobile able to be adjusted without affecting the outer look.
 
Here’s another picture of the finished product: